In the fast-moving world of energy management, precision is everything. That’s why more businesses, facility managers, and HVAC professionals are turning to BTU energy meters for reliable and accurate measurement of thermal energy consumption. This BTU energy meter installation guide is designed to walk you through everything you need to know—from what tools you’ll need to how to ensure a smooth and successful setup.
As the head of a company specializing in maintenance-free, high-accuracy energy metering systems, I’ve seen firsthand how a proper installation can make or break your data integrity. If you want to avoid system errors, billing disputes, or performance issues, this guide is a must-read.
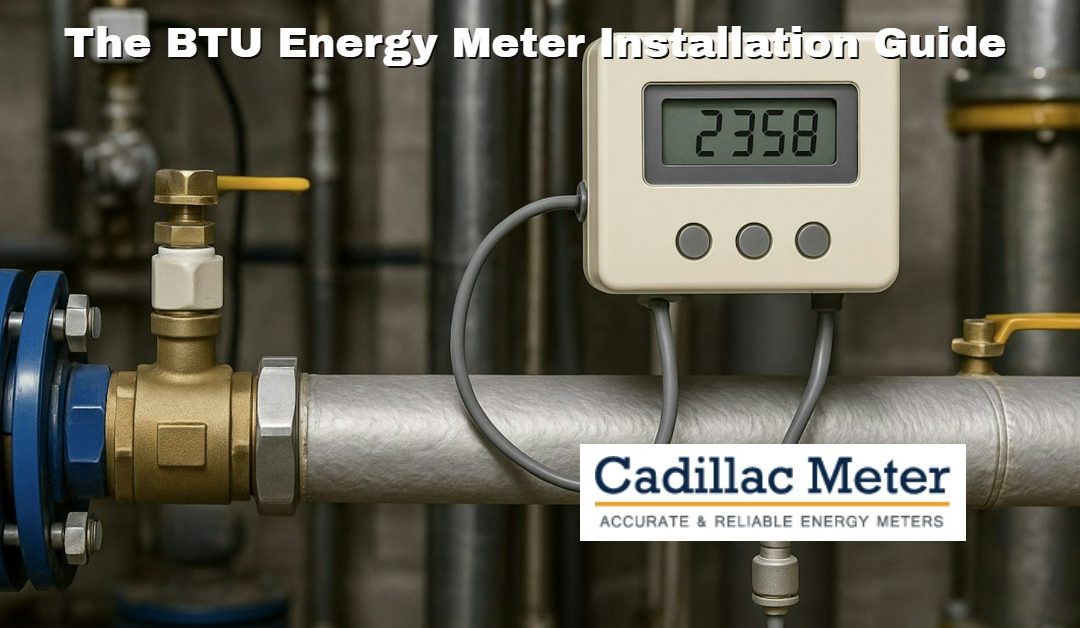
What is a BTU Energy Meter?
A BTU (British Thermal Unit) energy meter is a device used to measure thermal energy in heating and cooling systems. It calculates the energy transferred by measuring the flow of a liquid (usually water) and the temperature difference between supply and return lines.
These meters are essential in applications such as:
-
District heating and cooling
-
Industrial energy management systems
-
Data centers
Tools and Materials You’ll Need
Before we get into the actual BTU energy meter installation guide, make sure you have the following tools and components ready:
🔧 Pipe wrenches or adjustable spanners
🔧 Pipe sealant or Teflon tape
🔧 Drill and mounting screws (for wall-mounted models)
🔧 Electrical cable and connectors (for wired systems)
🔧 Laptop or device for commissioning (if using a digital model)
🔧 Calibration fluid (if required by the manufacturer)
Step-by-Step BTU Energy Meter Installation Guide
This BTU energy meter installation guide applies to both ultrasonic and mechanical flow-based systems. However, always refer to the manufacturer’s specific instructions for model-related variations.
Step 1: Choose the Right Location
✅ Pick a straight pipe section that allows for proper flow profiling
✅ Ensure enough space for maintenance and reading display
✅ Avoid locations near pumps, bends, or valves (keep a minimum of 5 pipe diameters upstream and 3 downstream)
Pro Tip: The accuracy of your readings depends heavily on the stability of fluid flow. Turbulent or uneven flows can skew results.
Step 2: Install the Flow Sensor
✅ Shut down the system and relieve pressure
✅ Cut the pipe and insert the flow sensor (mechanical or ultrasonic)
✅ Ensure the arrow on the sensor matches the direction of the flow
✅ Tighten the fittings using appropriate tools, and seal with Teflon tape or pipe sealant
Step 3: Mount the Temperature Sensors
BTU meters typically use two temperature sensors: one on the supply line and one on the return line.
✅ Insert the temperature probes into immersion wells or directly into the pipe
✅ Make sure both sensors are placed at equal distances from the BTU meter
✅ Secure them tightly and insulate to avoid thermal interference
Step 4: Electrical Wiring
✅ Connect the temperature sensors and flow sensor cables to the BTU meter
✅ For wired models, connect the power supply and communication cables (Modbus, BACnet, M-Bus, etc.)
✅ Follow the wiring diagram provided in the manufacturer’s manual
Warning: Improper wiring is one of the most common causes of faulty readings. Double-check everything before powering on.
Step 5: Initial Configuration
✅ Power on the device and check for any error codes
✅ Enter system parameters like pipe size, liquid type, and installation length
✅ Set the correct communication settings for remote monitoring
Some high-end BTU meters offer smartphone apps or web dashboards for setup. Take advantage of those tools for quicker commissioning.
Step 6: Calibration and Testing
✅ Run the system under normal load
✅ Compare initial readings with expected values
✅ If available, run a built-in self-test or diagnostic program
✅ Make any necessary adjustments and log all settings
At this point in the BTU energy meter installation guide, your meter should be operational and ready for long-term use.
Common Mistakes to Avoid
🚫 Installing sensors in the wrong direction
🚫 Skipping proper insulation on temperature sensors
🚫 Neglecting to verify factory calibration
🚫 Using outdated firmware or not setting up communication protocols correctly
🚫 Ignoring local compliance or certification requirements
Avoiding these pitfalls is the difference between years of maintenance-free operation and frequent headaches.
Maintenance Tips
While most modern BTU meters are designed to be maintenance-free, it’s still good practice to:
🔄 Check calibration annually
🔄 Inspect wiring for wear or moisture ingress
🔄 Clean flow sensors if your system uses untreated water
🔄 Update firmware when prompted by the manufacturer
When to Call a Professional
If your system is mission-critical or highly complex, don’t wing it. Poor installation can result in:
📉 Inaccurate data
🧾 Billing disputes
⚠️ Compliance issues
💸 Costly downtime
Hiring a certified technician ensures the job is done right the first time. You can find guidelines and certified installer resources through ASHRAE, the authority on heating, refrigeration, and air-conditioning standards.
Why BTU Energy Meter Installation Matters
Proper BTU energy meter installation doesn’t just help you monitor usage—it’s essential for cost recovery, system optimization, and environmental compliance. A poorly installed meter can throw off entire building management systems, impact tenant billing, and inflate your energy budget.
As a business leader in the energy measurement field, I’ve helped companies transition from “guesstimation” to precision metering. The difference is night and day—not just in the numbers, but in the confidence it brings to operations and reporting.
Final Thoughts
This BTU energy meter installation guide is more than a checklist—it’s a foundation for efficiency. By following each step and avoiding common errors, you’re setting your system up for long-term performance, accuracy, and compliance.
In a world where every BTU counts, precision isn’t optional. It’s the backbone of intelligent energy use.
If your facility is ready for a plug-and-play, zero-maintenance BTU energy metering solution that you can trust for the next decade, we’re here to help. Let’s make your data work for you.

